友情提示点击顶部放大镜 可以使用站内搜索 记住我们的地址 www.hainabaike.com
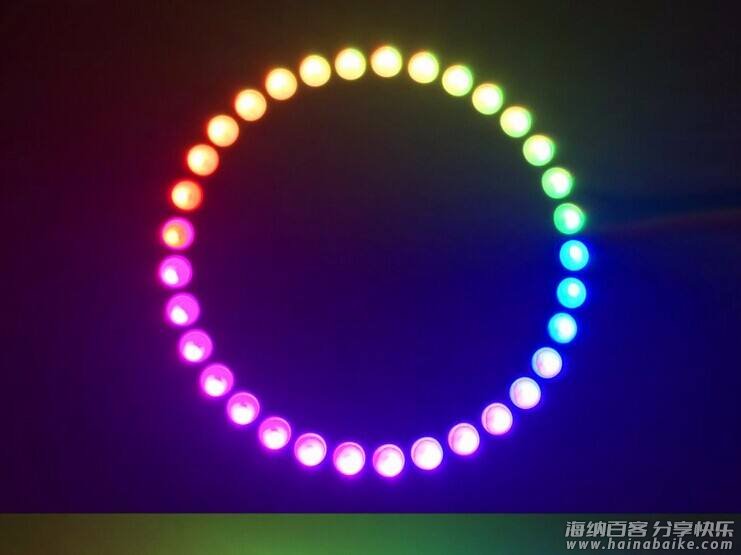
使用 Adafruit_NeoPixel 库可以让 Arduino 或 ESP8266 很方便地驱动 WS2812 灯条。
首先下载这个代码库,地址:
https://github.com/adafruit/Adafruit_NeoPixel
将 WS2812 的 DIN 接到 Arduino 的 6 号引脚,再连接好 VCC 和 GND。运行下面的示例程序。
#include <Adafruit_NeoPixel.h>
#ifdef __AVR__
 #include <avr/power.h> // Required for 16 MHz Adafruit Trinket
#endif

// 控制 WS2812 灯条的引脚编号
#define PIN        6

//定义控制的 LED 数量
#define NUMPIXELS 16

Adafruit_NeoPixel pixels(NUMPIXELS, PIN, NEO_GRB + NEO_KHZ800);

//相邻 LED 之间的延迟,单位毫秒
#define DELAYVAL 500

void setup() {
  // These lines are specifically to support the Adafruit Trinket 5V 16 MHz.
  // Any other board, you can remove this part (but no harm leaving it):
#if defined(__AVR_ATtiny85__) && (F_CPU == 16000000)
  clock_prescale_set(clock_div_1);
#endif
  // END of Trinket-specific code.

  pixels.begin(); // INITIALIZE NeoPixel strip object (REQUIRED)
}

void loop() {
  pixels.clear(); // Set all pixel colors to 'off'

  // The first NeoPixel in a strand is #0, second is 1, all the way up
  // to the count of pixels minus one.
  for(int i=0; i<NUMPIXELS; i++) { // For each pixel...

    // pixels.Color() takes RGB values, from 0,0,0 up to 255,255,255
    // Here we're using a moderately bright green color:
    pixels.setPixelColor(i, pixels.Color(0, 150, 0));

    pixels.show();   // Send the updated pixel colors to the hardware.

    delay(DELAYVAL); // Pause before next pass through loop
  }
}
标签: 编程level3教程arduinoWSledWS2812NeoPixel


文章来源:
Arduino 实验室
版权声明:本站资源来自互联网收集,仅供用于学习和交流,请遵循相关法律法规,本站一切资源不代表本站立场,如有侵权、后门、不妥请联系本站删除。


评论列表